It’s best to begin by flushing one valve circuit at a time. The top of each riser should be higher than soil level outside the trench in which the piping runs – which you have only refilled halfway. This is to ensure that any pooling water won’t be able to run back into the pipes after you stop flushing and defeat the purpose of what you’re trying to do.
Next, make sure the valve is in full open position and allow the water to run for at least five minutes. As this is happening, walk around with a shovel and add extra dirt to the trenches as they start to settle. Move the dirt around gently to loosen any air bubbles that may occur during the process.
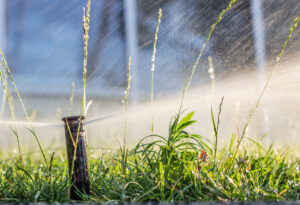
After you’ve flushed out the entire circuit, it’s time to flush the individual risers. Cap all risers except for one and don’t worry if you find a little leakage here and there. Just be sure that each riser is properly braced. Slowly turn on the water once again until the riser has a four to five foot mini-fountain coming out.
Let run for two minutes and then repeat these steps for every riser. When you’ve finished flushing all the risers on the valve circuit, go through the whole process again for the other valves. You’ll need to start each time with a five-minute flush of all the risers together.
South Austin Irrigation is here to give you all the assistance you need to install or maintain your irrigation system. No job is ever too big or too small for us because keeping your landscape looking beautiful throughout the year is our top priority. So when you need the helping hand of irrigation experts, contact us!
Photo credit: FreeDigitalPhotos.net