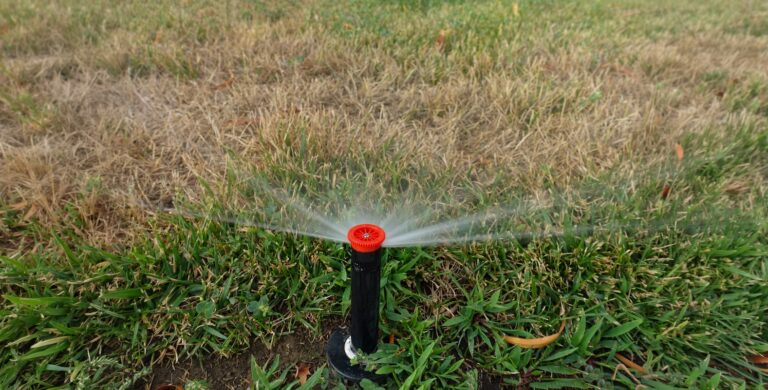
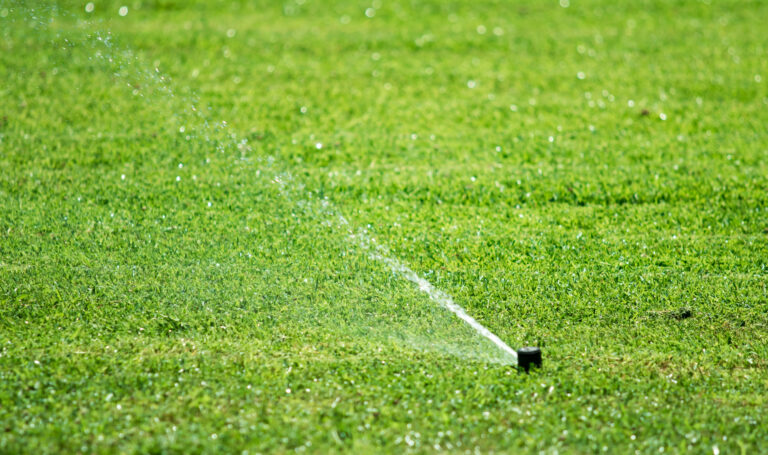
Rotor sprinklers are homeowner favorites because they use a smaller volume of water than traditional pop-up sprinklers. While they can offer savings on your water bill, they’re also more sensitive pieces of equipment.
For example: they can sometimes get damaged from a clogged filter or a frozen line. The sprinkler body can also crack from wear. And if you’re not careful with your lawnmower or car, nozzles can easily get crushed.
If you find that your rotor sprinklers need repair, you will have to remove, inspect and replace critical components. Following is a guide to help on basic issues with your rotor sprinklers.
Shut off water and dig to sprinkler base
Turn the ball valve on the main sprinkler line, which is usually located inside a basement or crawl space, 90 degrees counterclockwise to shut of the flow of water.
Take a shovel and remove the dirt around the body of the sprinkler so your hand can wrap around it.
Examine sprinkler
Unscrew the sprinkler counterclockwise from the base of the riser that holds the sprinkler to the supply line underground. If the sprinkler body exterior shows signs of cracking, you’ll need to replace the sprinkler with a new one.
Check out nozzle assembly
Insert a rotor head key into the slot at the top of the rotor. Turn the key 90 degrees clockwise to lock it in place and pull up the nozzle assembly.
Going counterclockwise, unscrew the top of the nozzle assembly and examine the small plastic filter inside the nozzle. If this appears damaged, you’ll need to replace it by inserting a new one into the base of the nozzle.
Inspect nozzle inside sprinkler
Most rotor sprinklers contain removable nozzles. If your nozzle shows signs of damage, pull it out from the base of the nozzle and replace it with a new one from the same manufacturer. Some rotor nozzles require that you insert the sprinkler key into the nozzle release hole before pulling it out.
Reassemble sprinkler
Put the sprinkler back on the riser after you have finished repairs. Tighten by turning sprinkler clockwise. To resume water flow, turn the sprinkler ball valve 90 degrees clockwise. Replace the dirt around the base of the sprinkler.
At South Austin Irrigation, our experts can help you with all your sprinkler system repair and replacement issues. No matter the reason or season, contact us today.